After kicking the cardboard idea into touch I found a place online who cut all sorts of materials very accurately at a very good price. Take a look around at what they can do - cutting, routing,shaping all sorts.
Don't be deterred by the word 'plastic' they have lots of stuff. I chose 6mm moisture resistant MDF. I worked out how I would want to construct the box and what its exterior dimensions need to be and with a teeny bit of maths to allow for the 6mm material thickness ordered the appropriate sheets.

(footnote: I discovered when built there was a slight miscalculation here on the size of the back section, so don't use these dimensions. It still gives you an idea of how to determine what you need but be always be aware of allowing for the thickness of material. The sides should be 248 x 250)
They did an excellent job and I was happy with the price.
The wood and cutting for the whole box was only £8.91 but then, of course, VAT , delivery and a small order fee kicked in but the whole box still cost me about twenty pounds.
(footnote: when I ordered the wood for the other five boxes they came in under ten pounds each, what a fabulous price for a bespoke room box)
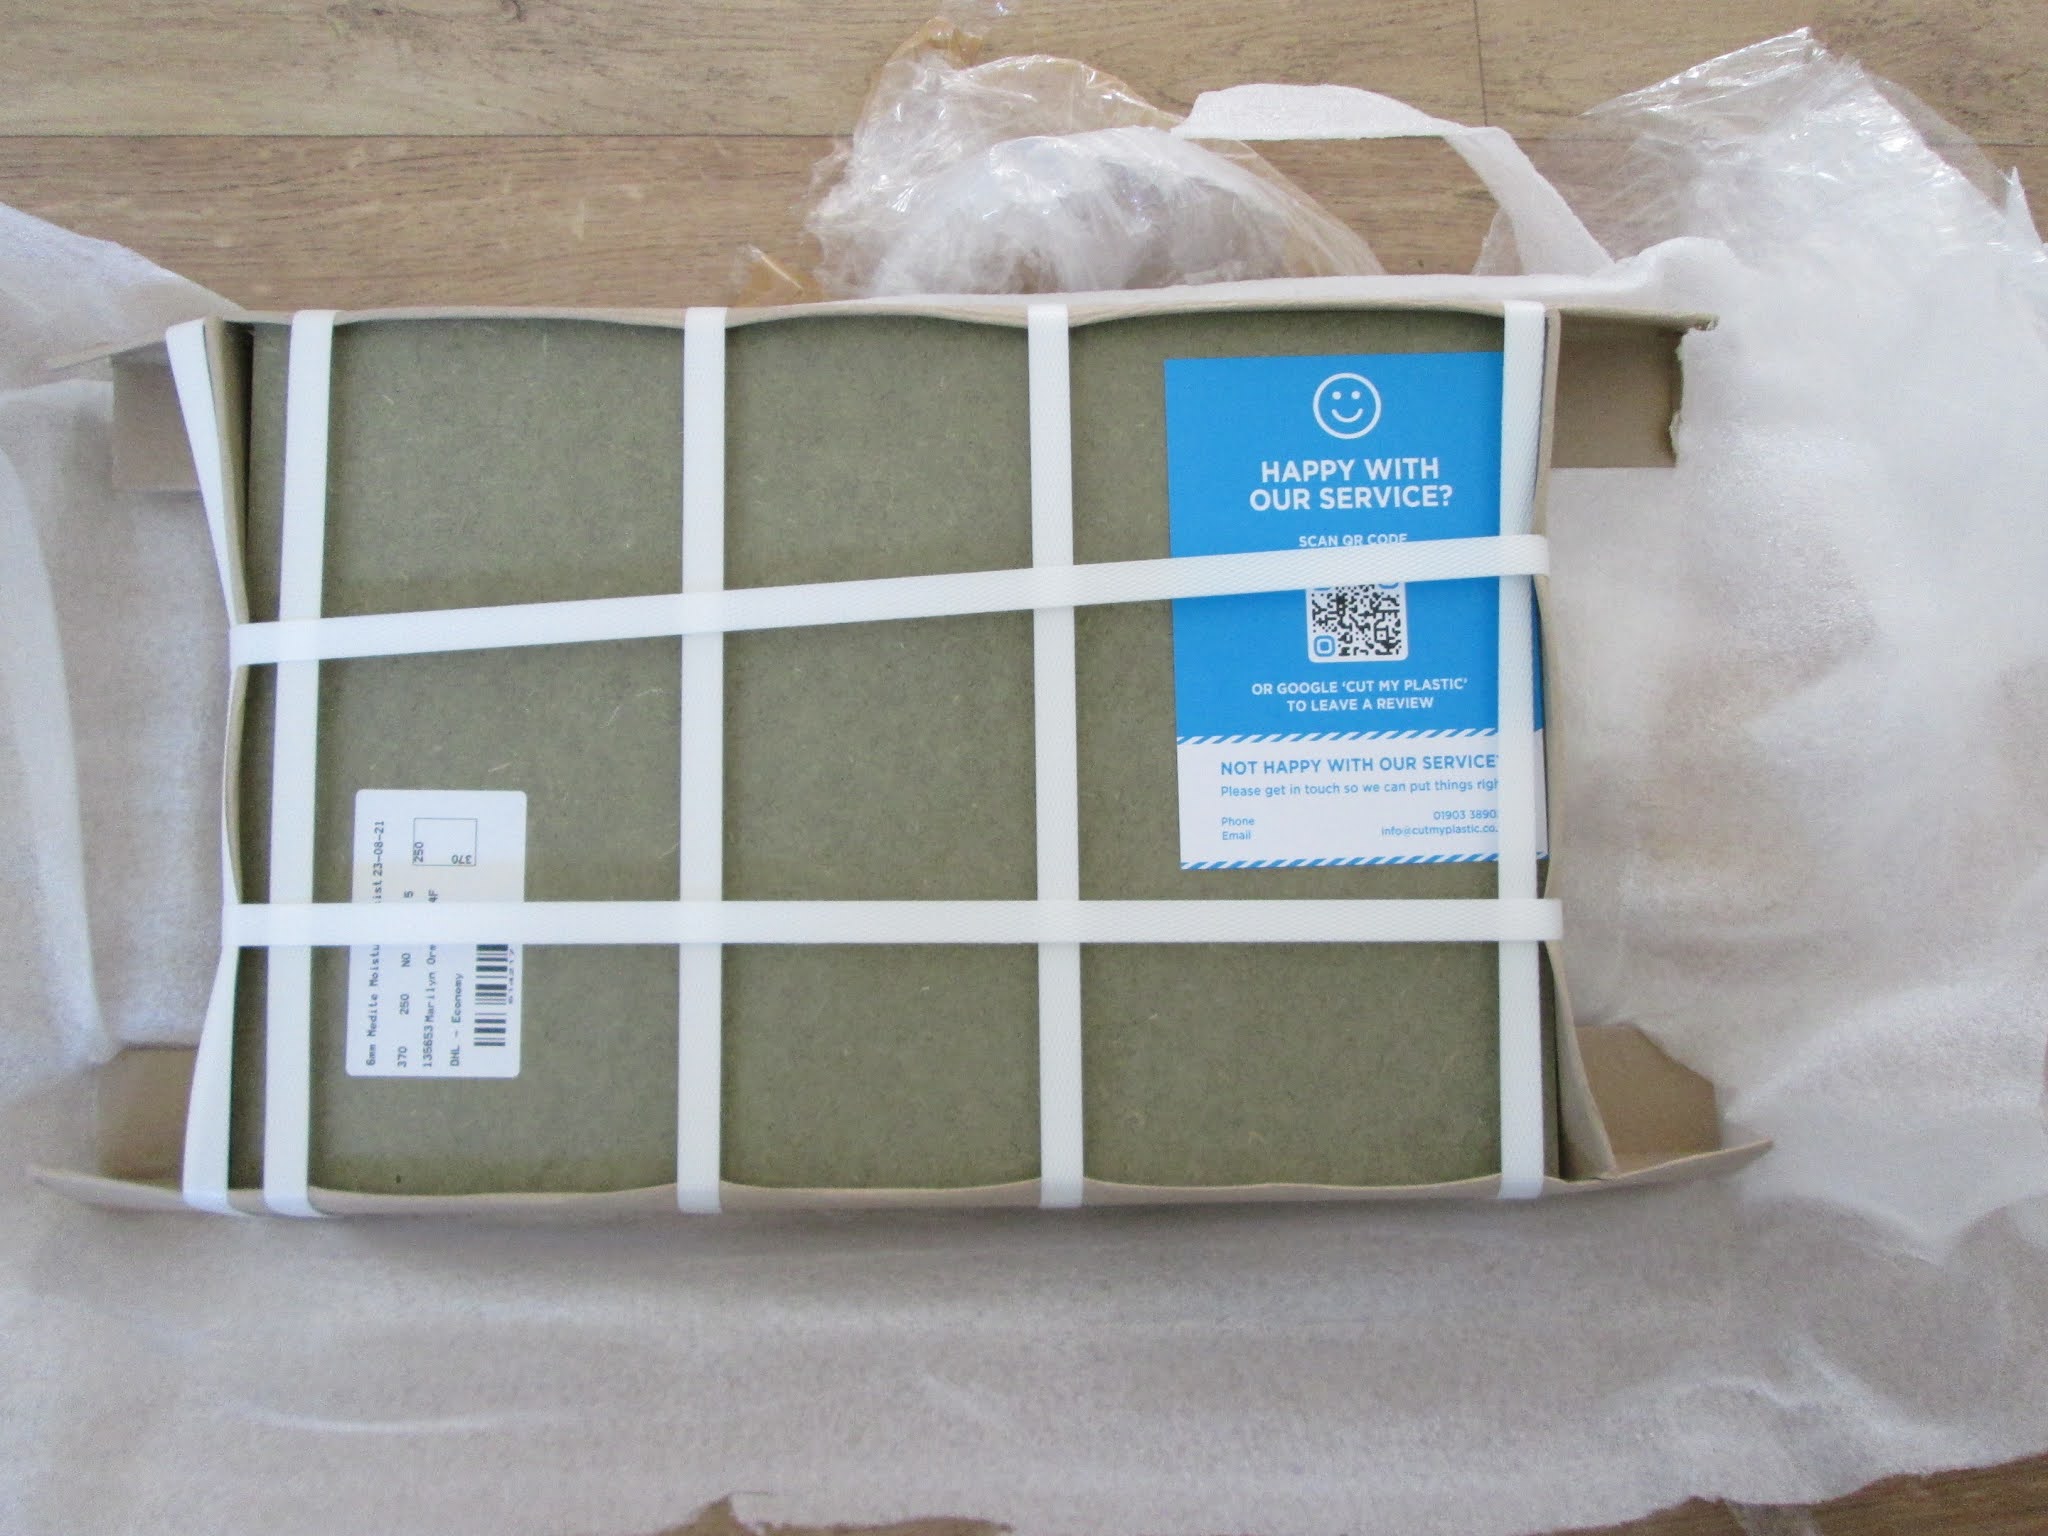
They arrived beautifully packed with some extend pieces of extremely hard cardboard to protect all four corners, so I started with spot on size and pristine edges.


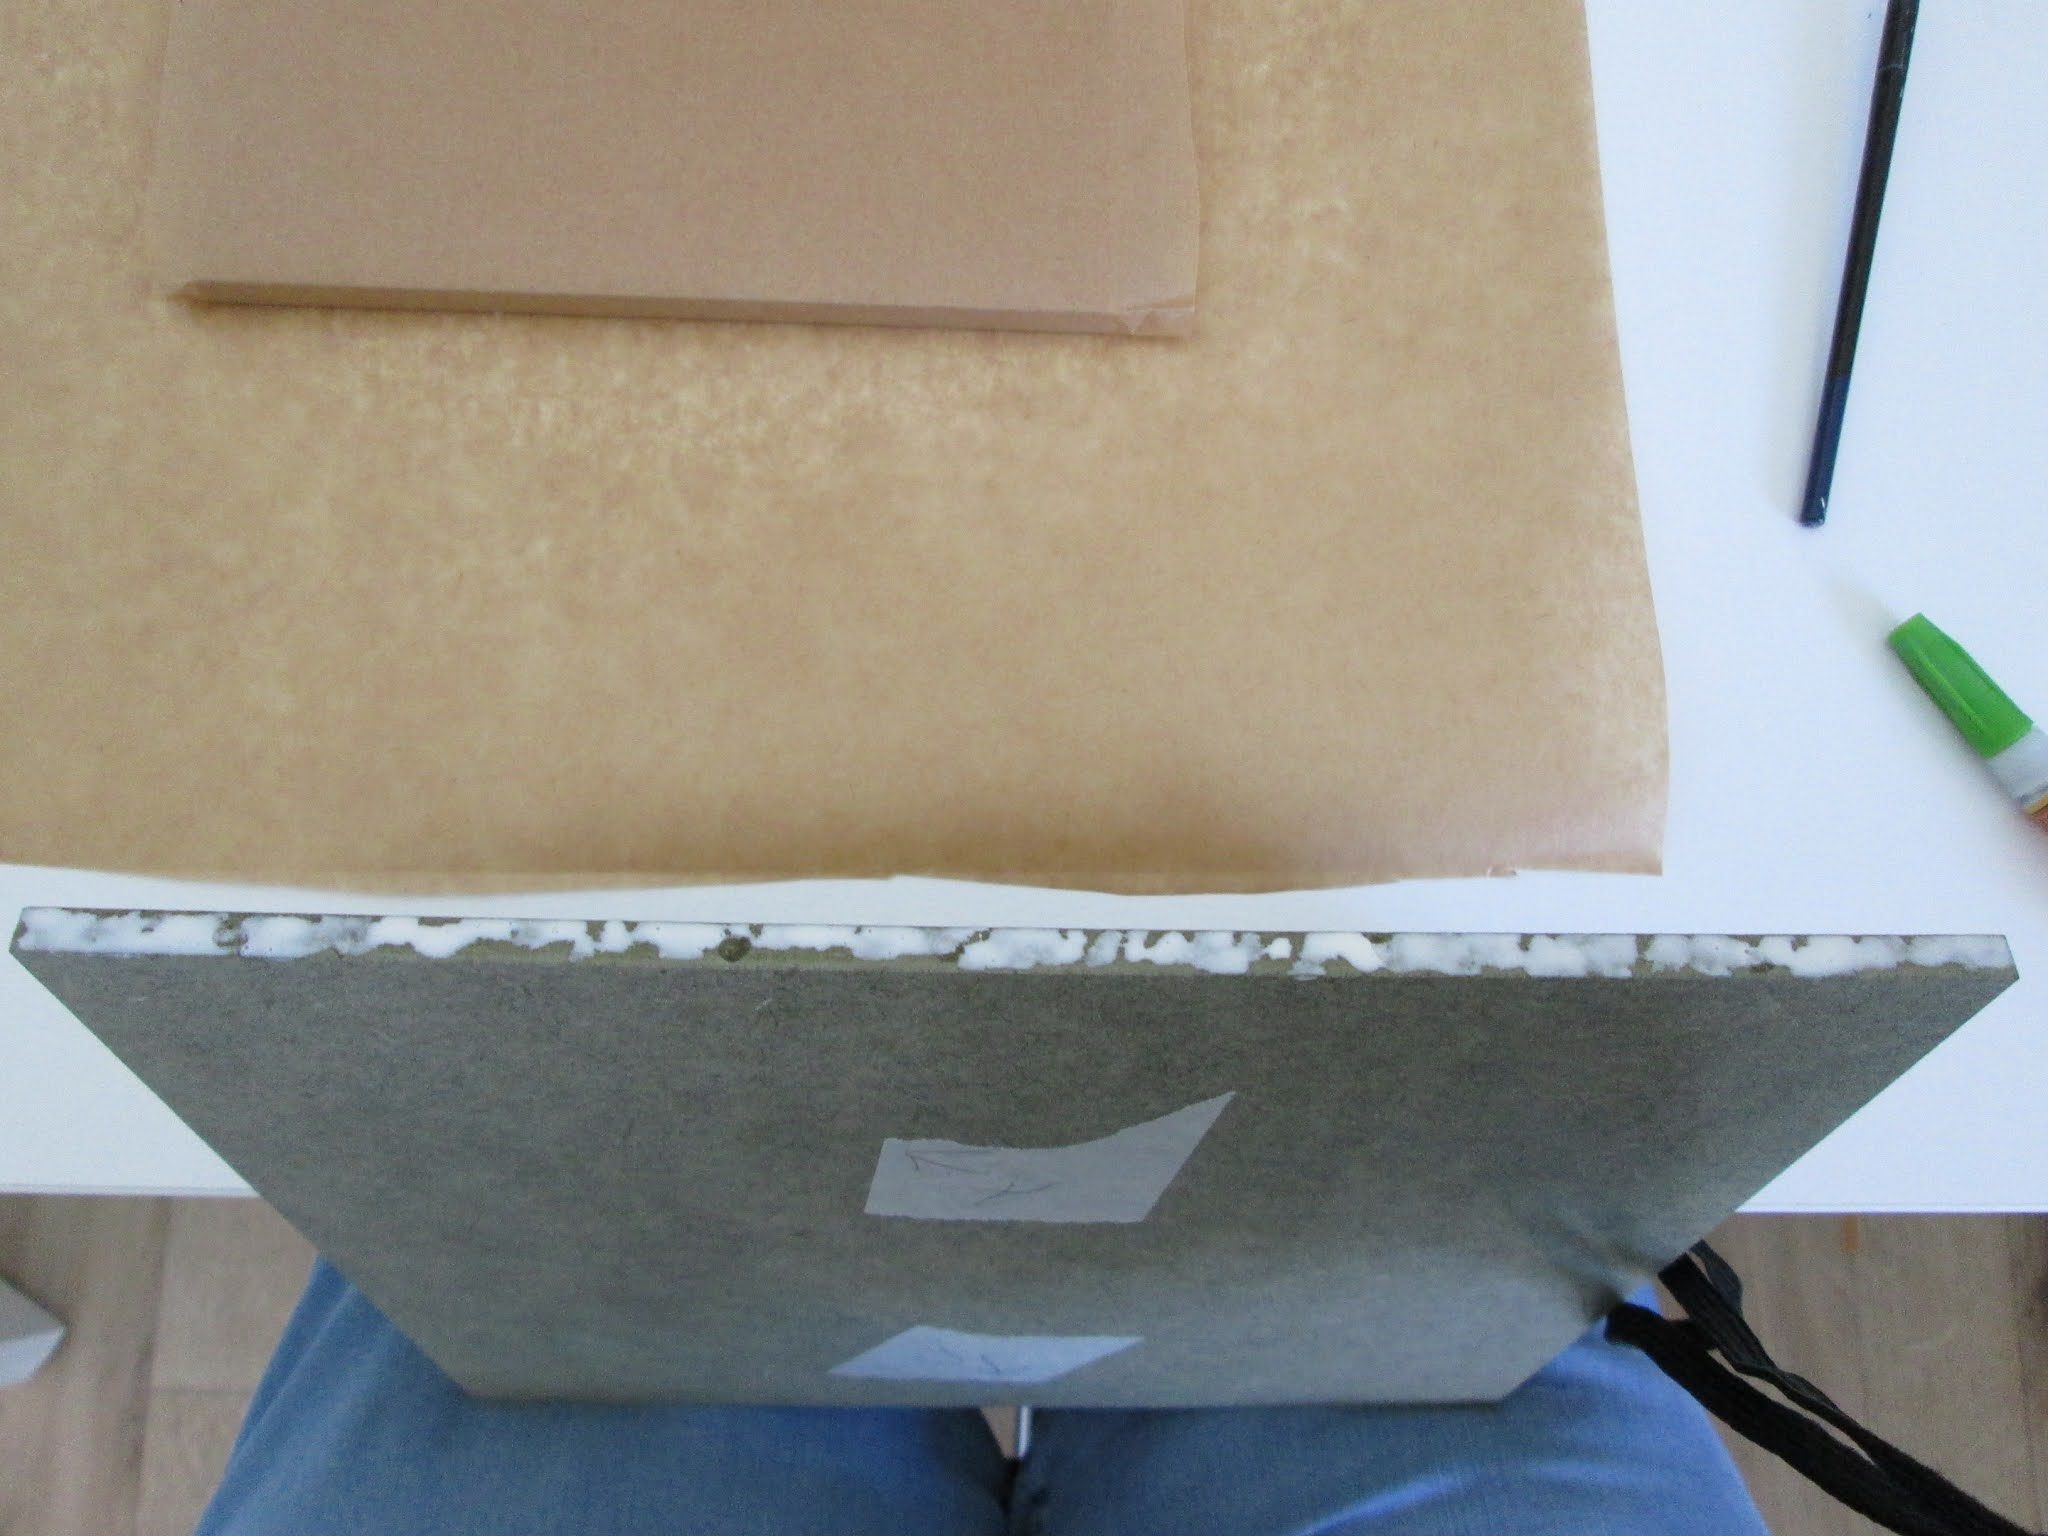


It feels fine. So a day of patience while the back is weighed down with books and the making-of-a-room can begin again.

So far, so good.
- - - - - - - - - - - - - - - - - - - - - - - -
Bit of a footnote:
When I built all the various kits I have had I always painted the ceilings before the build so I didn't have to go inside a small space and perform gymnastics trying to paint it in situ. I considered it for this too but I was a bit concerned about leaving a precise 6 mm edge paint free so that the wood glue could make a good bond. This is not so vital in a large house construction as they are 9mm MDF and sides are slotted into routed grooves and there are layers of floors each stabilising the other. Also, this being a box, it is easy to turn it this way and that and I will be painting the ceiling as if it were a floor which is easy.
Bravo! I am so happy that you found a reasonable room box maker and I am sure this information is going to be extremely useful to other folks finding themselves in need! Now, you're off to a great re-start, and with this boost you'll be finished with the painting and papering and moving on to decorating in no time!
ReplyDeleteThanks Jodi. I am confident this is the solution to wobbly box disease.
DeleteHooray! Onwards and upwards now! I love your little set up….looking forward to the next instalment already!
ReplyDeleteHonestly Kath the stuff we invent for a workaround in this game. Be lovely to have a giant American style workshop with things like jigs and clamps for holding a box.
DeleteWhat a great solution. Now you will be able to continue making rooms appropriate to your level of expertise.
ReplyDeleteThank you Sherrill. I am so glad to have got to the answer in such a satisfying way.
DeleteI love your 'jig' Marilyn and I am glad to see I am not the only one to set up contraptions for my minis.
ReplyDeleteThanks for the hint to use superglue to add an initial hold. That will come in super helpful
Anna
Thanks Anna, especially for gracing my contraption with the title 'jig' probably more of a bodge, but needs must ……. Only the teeniest bits of superglue because it is a stinker if you end up with it on any of the good surfaces and must be the gel sort for the same reason, but it really does work.
Delete