Showing posts with label Building the box. Show all posts

Saturday, 2 October 2021

Boxes - so here we go again

 After kicking the cardboard idea into touch I found a place online who cut all sorts of materials very accurately at a very good price.  Take a look around at what they can do - cutting, routing,shaping all sorts.

Cut my Plastic

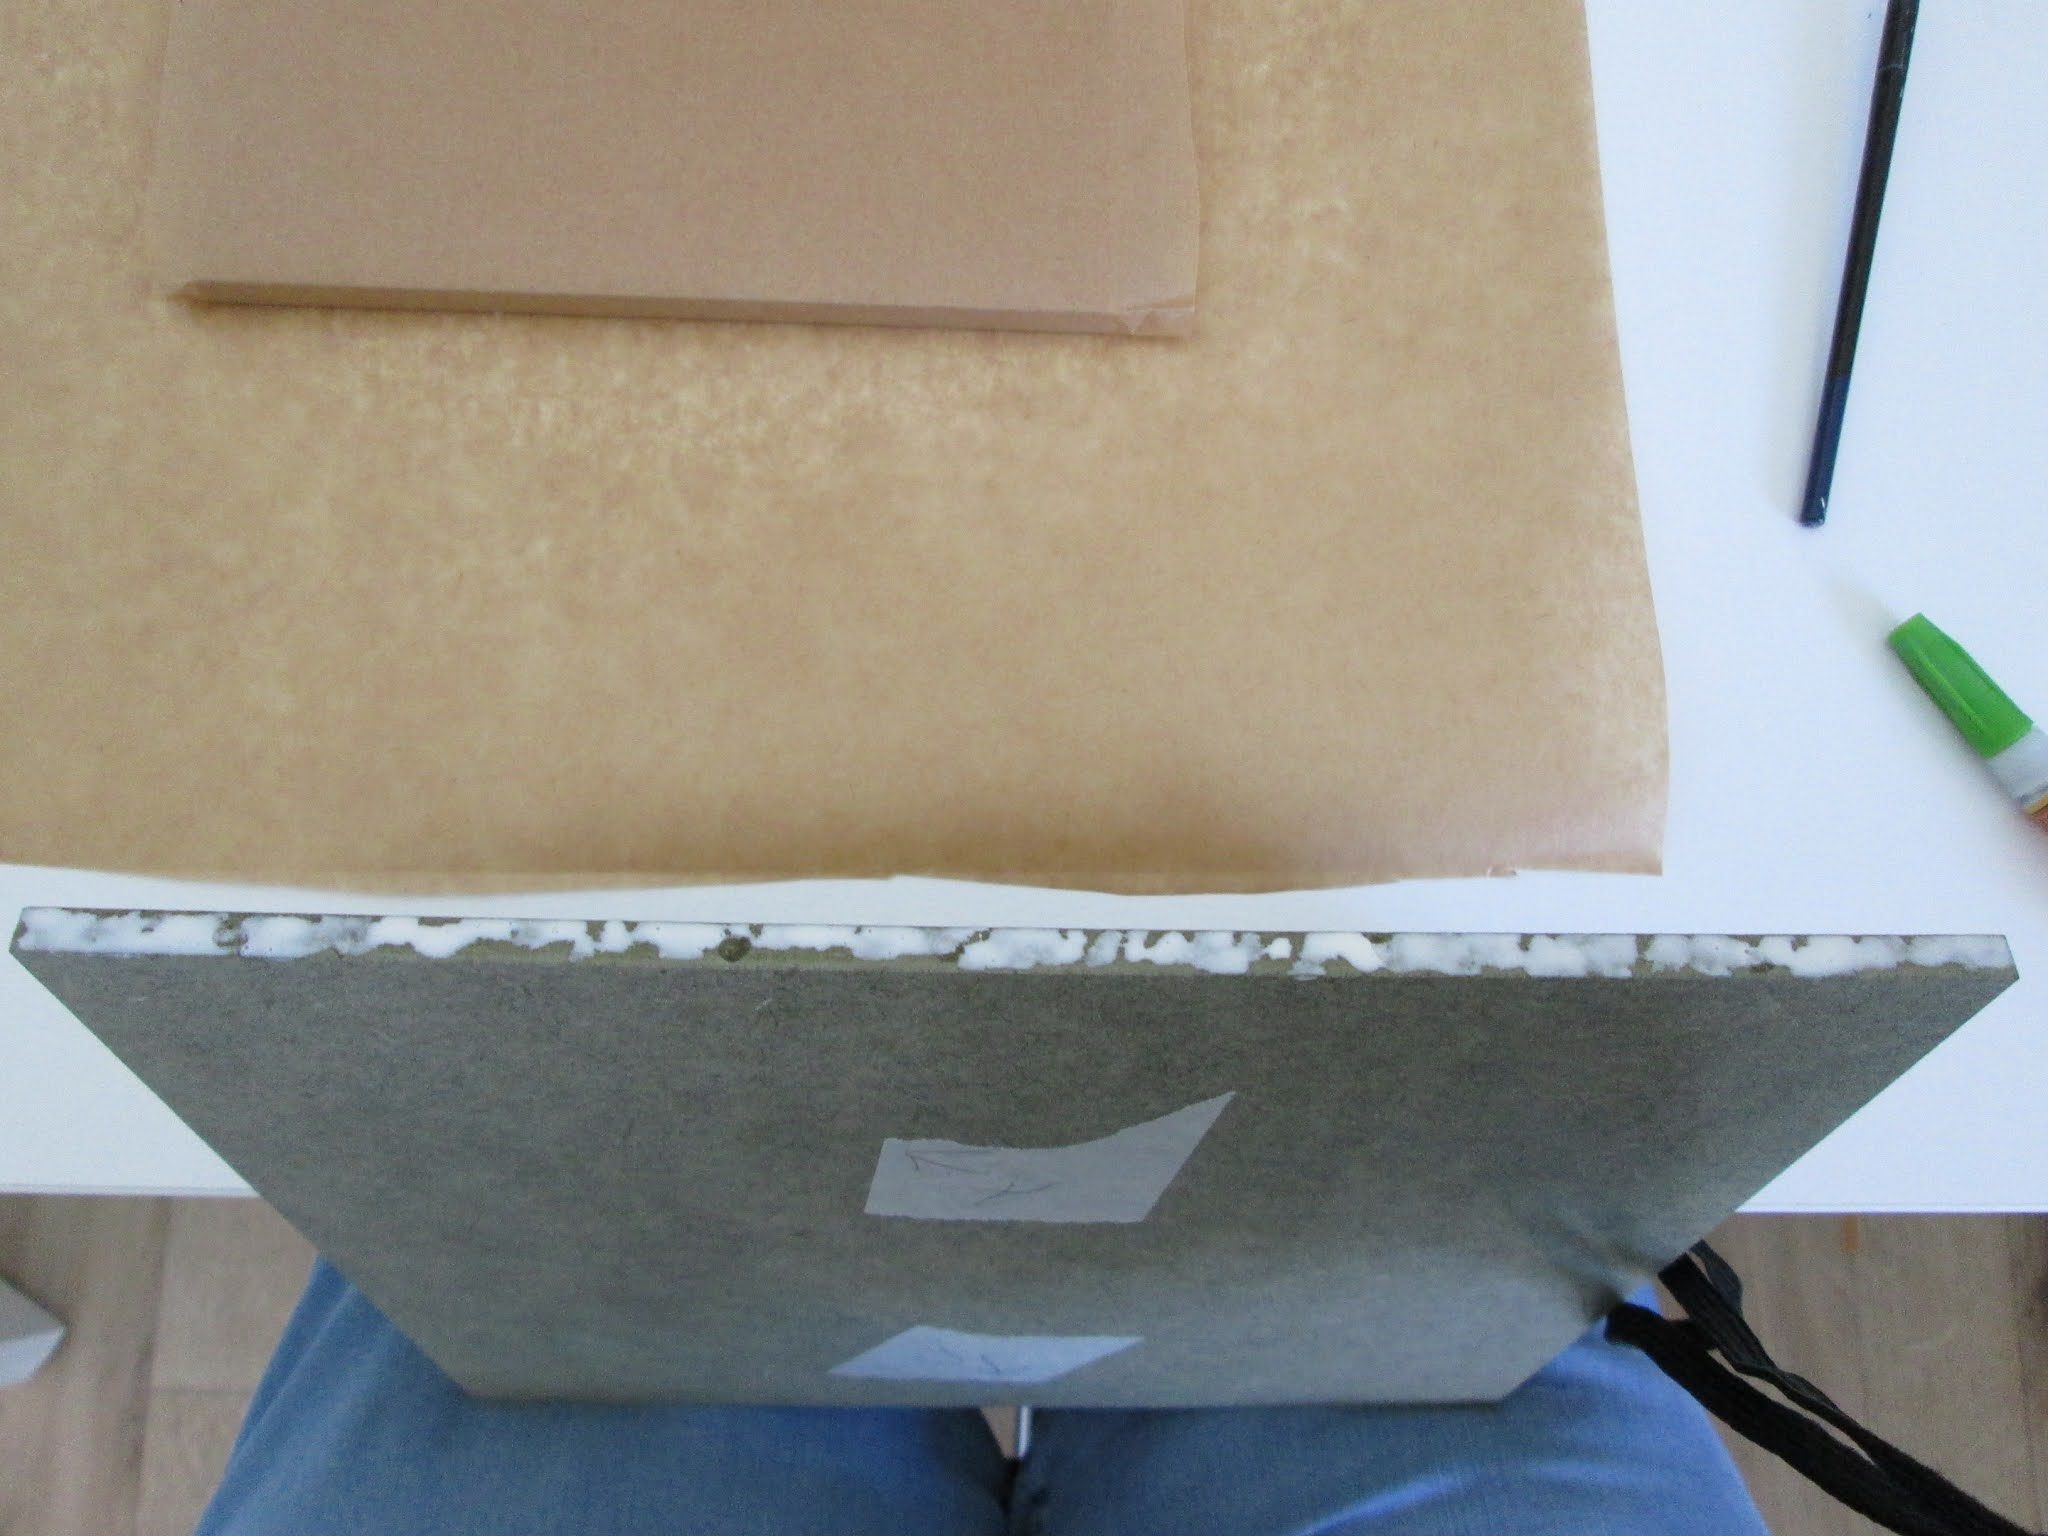
Don't be deterred by the word 'plastic' they have lots of stuff.  I chose 6mm moisture resistant MDF.  I worked out  how I would want to construct the box and what its exterior dimensions need to be and with a teeny bit of maths to allow for the 6mm material thickness ordered the appropriate sheets.


(footnote:  I discovered when built there was a slight miscalculation here on the size of the back section, so don't use these dimensions.  It still gives you an idea of how to determine what you need but be always be aware of allowing for the thickness of material.  The sides should be 248 x 250)

They did an excellent job and I was happy with the price.  

The wood and cutting for the whole box was only £8.91 but then, of course, VAT , delivery and a small order fee kicked in but the whole box still cost me about twenty pounds.

(footnote:  when I ordered the wood for the other five boxes they came in under ten pounds each, what a fabulous price for a bespoke room box)

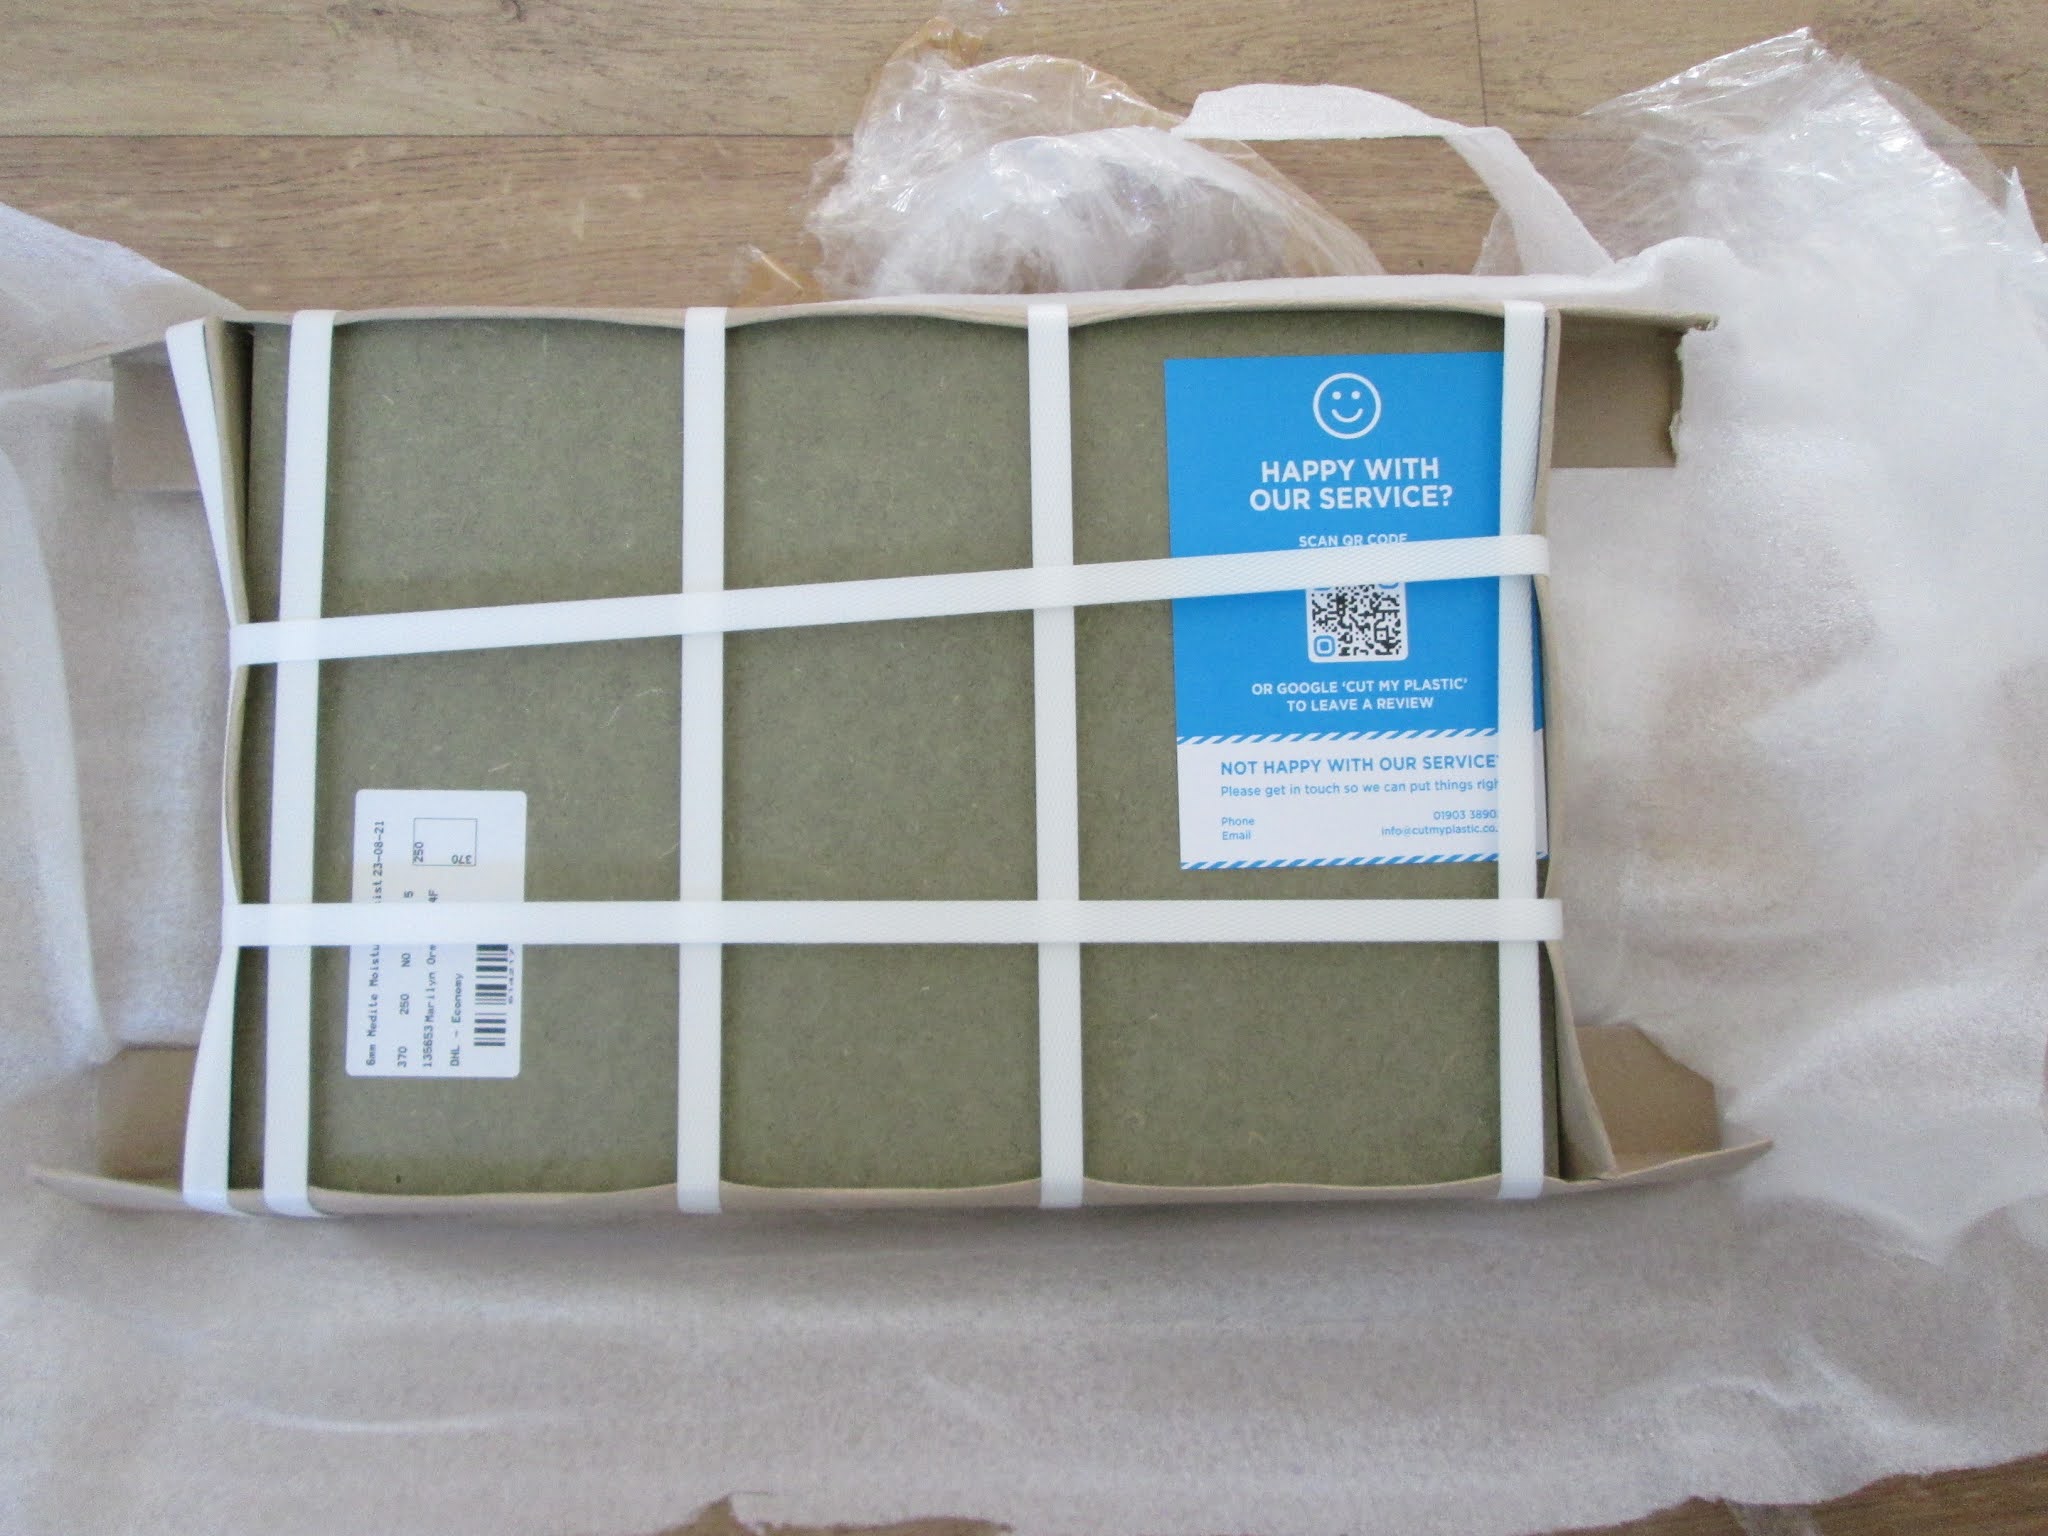
They arrived beautifully packed with some extend pieces of extremely hard cardboard to protect all four corners, so I started with spot on size and pristine edges.


I set up the world's most sophisticated working area to try and act as a right angle jig to keep the boards square to each other as they were glued....  This consisted of silicone coated baking paper taped to the wall behind my little work desk, a piece taped to the desk (all to keep desk and wall clean) a piece of MDF shoved to the wall because there is a gap between my desk and the wall. 


The first two pieces go in place... this is the top leaning against the wall


I applied glue to the edge of the side piece.  You might be able to spot tiny dabs of super glue gel here and there in the wood glue just to give an instant grip while the wood glue sets up.  I promise you the dabs of superglue make a difference.  I forgot to add it to one piece and ended up hanging on to it for ages (twice) and, in the end, I had to relent and dab on the superglue dots.  There was no way I could let go of the pieces and get on with something else as they set up, just didn't hold without it.


The side was carefully pushed in place and held for a long while until I was fairly sure it was OK to release and let it dry


The next day I added some reinforced Kraft parcel tape.  I have no idea if this will help the joints but I am thinking the box will be handled quite a lot before it is finally settled in place and I am hoping this will just give it a bit more stability.


With lots of combined holding in place and taping for support the four sides were ready for the back.  this would be the moment of truth as to how square on everything is.


It feels fine.  So a day of patience while the back is weighed down with books and the making-of-a-room can begin again.


So far, so good.


- - - - - - - - - - - - - - - - - - - - - - - - 

Bit of a footnote:  

When I built all the various kits I have had I always painted the ceilings before the build so I didn't have to go inside a small space and perform gymnastics trying to paint it in situ.  I considered it for this too but I was a bit concerned about leaving a precise 6 mm edge paint free so that the wood glue could make a good bond.  This is not so vital in a large house construction as they are 9mm MDF and sides are slotted into routed grooves and there are layers of floors each stabilising the other.    Also, this being a box, it is easy to turn it this way and that and I will be painting the ceiling as if it were a floor which is easy.


Saturday, 31 July 2021

Boxes - assembly


As always I am truly winging this project.  I have no idea how to make a room box or why that should create more or less issues.  I did the usual Google around and again as ever swiftly retreated from being overwhelmed by conflicting and sometimes confusing ideas.  I had already decided I didn't want to use wood, although I would have liked to.  It would be beyond my tools and skills to cut perfectly squared edges.  Other than wood it would seem cardboard was the next best option.  I know this will irritate successful users of foam board and there are some fabulous things being made from it but it seems I am incapable of cutting it neatly.  Skill or tools?  Not sure.  So the decision was stiff card....... and, yes, I can foresee a lot of issues. 

  • could I cut the boards easily and accurately
  • could they be fastened together in a durable way
  • would the finished box feel sturdy enough for all its future iterations
  • would the card take paint and wallpapering without distorting or weakening in any way
  • is there anyway to neaten the fronts and outside when they are finished 


A trip to Hobbycraft ensued and I came away with eight pieces of A1 stiff grey card.  I think it is probably book board. £2.25 each from the artist paper section.

I measured the space in the cabinet carefully and reduced the numbers a little to allow for getting the box in and out and for the wiring etc. The formal Georgian style rooms will need four boxes the same size and the two modern ones will be a little shorter in height.  I decided to start with the library.  I spent a lot of time working out how many pieces of which size I would need for all four boxes and how to get them out of the sheets with least waste.  I then marked up the sheets for cutting.


I spaced the shapes around the edges so at least four of them would get the benefit of an already well cut right-angled corner piece.

I was about to meet the first of my imagined stumbling blocks - cutting.

I absolutely can not cut the card.  Scissors won't do it and using a knife would just take me an eternity to cut through by which time I think the accuracy would have waned considerably. I was momentarily pleased when I tried a saw only to discover when I turned the test piece over it looked as though it had been through a shredder on the other side.  The solution was simple (if annoying) one broad-shouldered husband and a box knife.  It still took him a couple of passes for each cut but I soon had the five pieces ready for box one.  Now to do battle with how they could be fastened together.

I bought some self-adhesive Kraft paper tape and set off.  It is not especially easy and requires concentration on which piece 'stands' on which or butts up to which.  Midway through I realised it was easier if I used a couple of small pieces of tape horizontally across the joins.  They pull the pieces together in the way I wanted, allowing me to then just focus on taping as neatly and tightly as possible.  I cut and wrapped round the excess tape at the bottom of each join to strengthen the corners.  So far so good.


I was quite pleased with the joins and the tape was easy to use.  


This is an interior shot of a join.  On the whole they are no worse or better than an MDF kit built house.  I always wrap wallpaper around the corners which conceals them just fine.  

There is more of a challenge if I want to paint a room.  Right now I think I will see how that turns out in the modern rooms and if it doesn't work out I will have to find a wallpaper for them.  

I tested it in its space and am very pleased.  There is just enough slack to get the box in and out comfortably and to allow for wiring without a problem.


I have to get the paint in a couple of days and am planning on painting the ceiling and papering the walls and see if all my joy, and the box, falls apart at that point.  Meanwhile I have also ordered the self-adhesive reinforced Kraft paper tape as I think the plain one is pretty weak.  Wish me luck.